Easy Peanut Butter Blossom Recipe: Bake 4 Dozen Classic Cookies
Few cookies evoke the warmth of home and holiday cheer quite like the classic Peanut Butter Blossom. With its perfectly chewy peanut butter base and iconic milk chocolate kiss perched on top, it's a nostalgic treat that delights generations. If you're looking for an unforgettable addition to your baking repertoire, especially with "its cookie week" in full swing, you’ve found *the best peanut butter blossoms* recipe. This comprehensive guide will walk you through crafting four dozen of these delightful cookies, ensuring soft centers, crackly edges, and that irresistible balance of sweet and salty in every single bite. Prepare to make memories and fill your home with the most comforting aroma.
The Timeless Appeal of Peanut Butter Blossoms
What makes Peanut Butter Blossoms so universally adored? It's more than just the simple combination of peanut butter and chocolate. It's the nostalgia they carry, often reminiscent of childhood holidays, school bake sales, and family gatherings. These cookies are a celebration of simplicity and pure, unadulterated comfort.
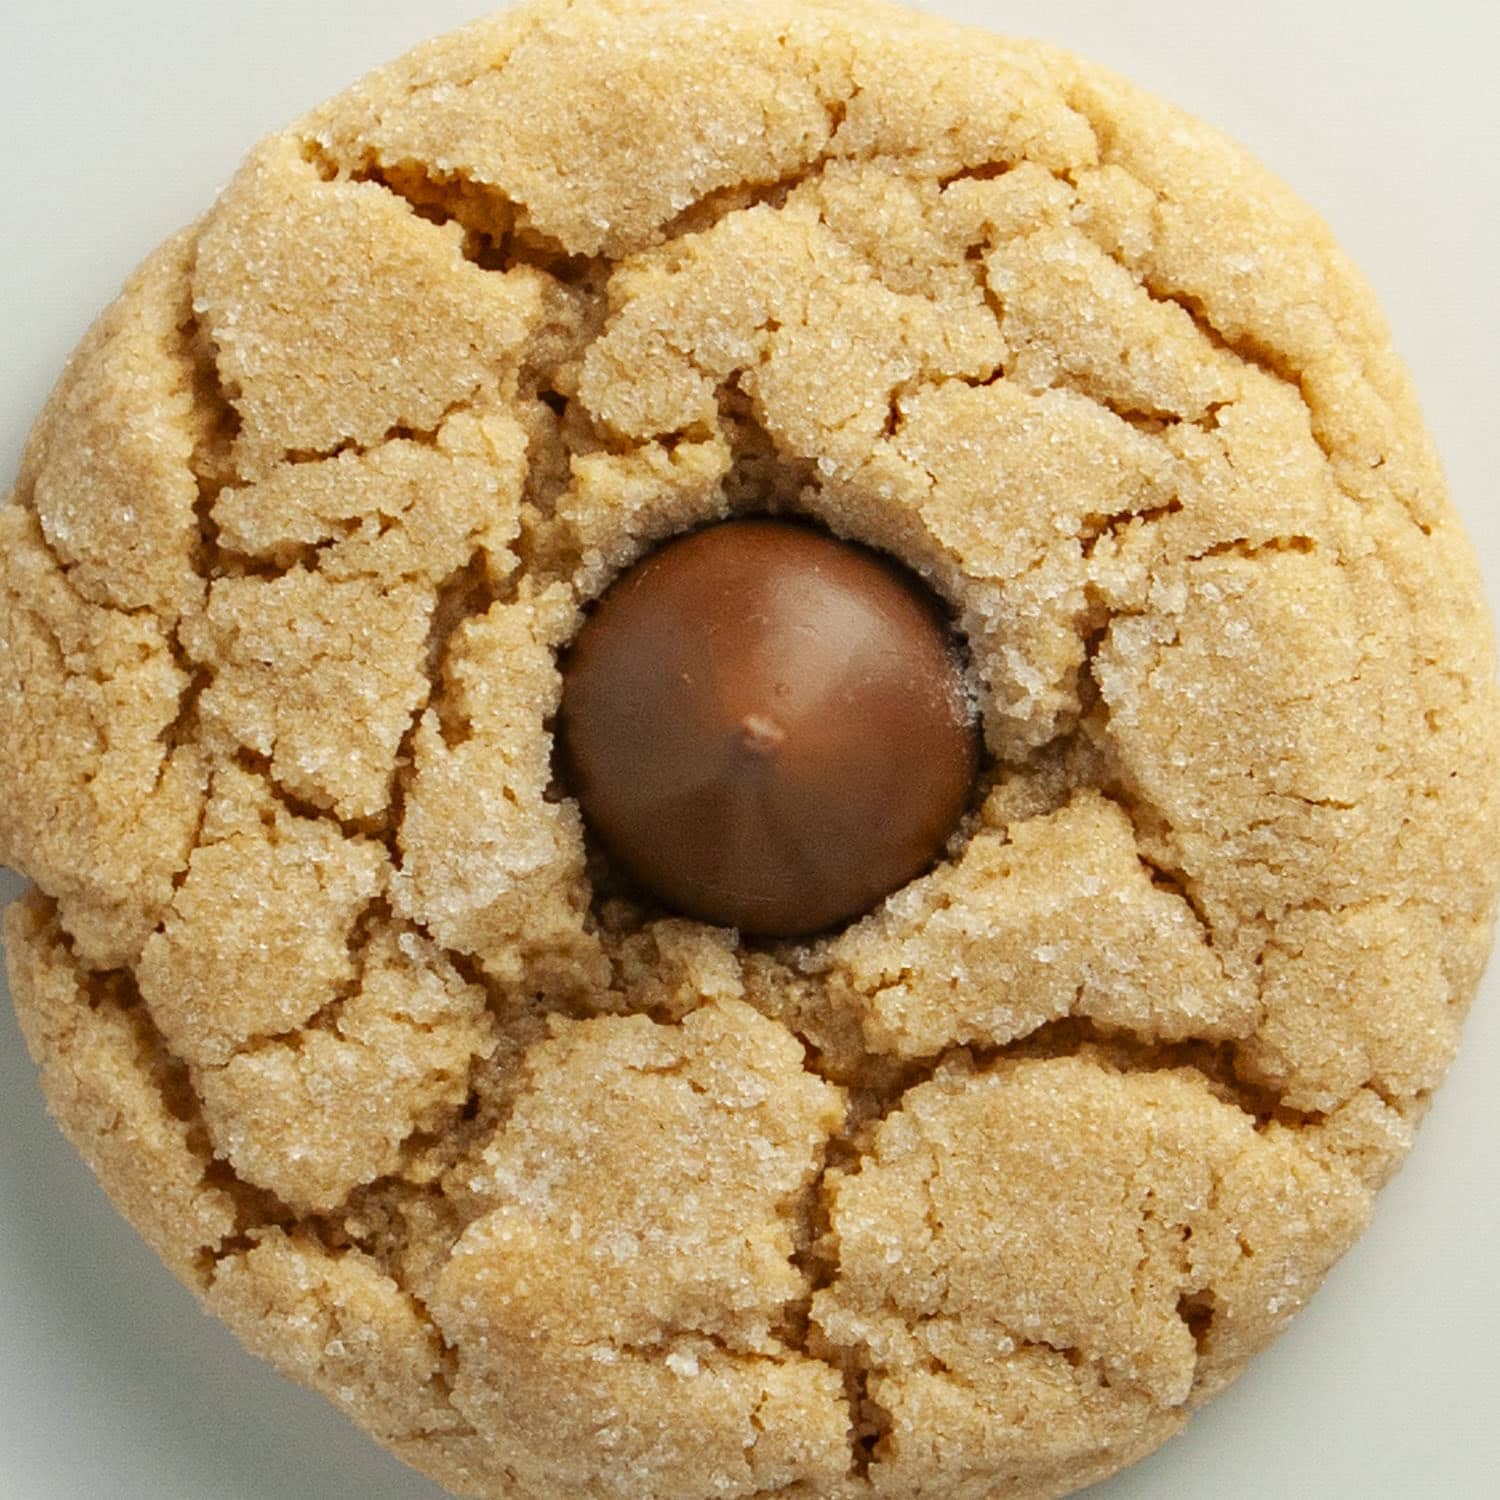
Picture this: a tender, golden-brown cookie with a slight crackle on its surface, giving way to a rich, peanut buttery softness. And then, there's the crowning glory—a slightly melted, perfectly placed Hershey's Kiss, its creamy chocolate harmonizing beautifully with the nutty sweetness below. They're everything a perfect cookie should be: comforting, satisfying, and utterly delicious. Whether you're assembling a festive holiday cookie tray, preparing for a party, or simply craving a taste of home, this recipe for *the best peanut butter blossoms* is your go-to. They hold their own alongside other favorites like Cream Cheese Sugar Cookies or classic M&M Cookies, creating an ultimate assortment that's sure to bring smiles.
Gather Your Ingredients: Simple Pantry Staples
One of the beauties of this classic recipe is that it relies on readily available ingredients you likely already have in your pantry. No fancy specialty items needed! The magic truly lies in the method and a few key techniques.
Before you begin, ensure your butter and peanut butter are at room temperature. This is crucial for achieving that light, fluffy, and evenly mixed dough that is the hallmark of *the best peanut butter blossoms*.
Here’s what you’ll need:
- All-purpose flour: The structural backbone of our cookies. Remember to spoon and level for accuracy!
- Baking soda: Our leavening agent, helping the cookies puff up beautifully.
- Salt: Essential for balancing the sweetness and enhancing the peanut butter flavor.
- Unsalted butter: Softened to room temperature, providing richness and tenderness.
- Granulated sugar: For sweetness in the dough and that iconic sugary coating.
- Light brown sugar: Adds moisture, depth of flavor, and contributes to the chewy texture.
- Creamy peanut butter: The star of the show! Use a regular, commercially processed peanut butter (like Jif or Skippy), not natural peanut butter that separates, as it can affect the cookie's texture. Ensure it's also at room temperature for easy blending.
- Large egg: Binds everything together and adds richness.
- Vanilla extract: Enhances all the other flavors.
- Hershey’s Kisses: Approximately 4 dozen, unwrapped and ready to press into the warm cookies.
Baking Bliss: Step-by-Step for 4 Dozen Perfect Cookies
This recipe is designed for ease and reliability, ensuring you get perfect results every time. Follow these steps for an amazing batch of *the best peanut butter blossoms*. For even more detailed guidance on achieving that perfect texture, you might find
Master Perfect Peanut Butter Blossoms: Soft, Chewy Guide incredibly helpful.
Mixing Your Dough to Perfection
- In a medium bowl, whisk together your flour, baking soda, and salt until thoroughly combined. Set aside.
- In the bowl of a stand mixer fitted with the paddle attachment (or using a hand mixer), combine the softened butter, granulated sugar, and brown sugar. Beat on medium-high speed for about 4-5 minutes, until the mixture is pale, light, and fluffy. This creaming process is vital for the cookie's texture.
- Add the room-temperature peanut butter to the butter-sugar mixture and continue beating for another minute until fluffy and fully incorporated.
- Scrape down the sides of the bowl. Add the egg and vanilla extract, beating on low speed until just combined. Be careful not to overmix at this stage.
- With the mixer on low speed, gradually add the dry ingredients to the wet ingredients, mixing until just combined. The dough will be thick and soft.
- Cover the dough tightly with plastic wrap and refrigerate for at least 1 hour. Chilling is important for the dough to firm up, making it easier to handle and preventing excessive spreading during baking.
Shaping and Sugar Coating
- Position two racks in the upper and lower thirds of your oven and preheat to 350°F (175°C). Lightly grease two baking sheets with nonstick spray or line them with parchment paper.
- Take half of the chilled dough. Using a small cookie scoop (about 1 tablespoon in size) or your hands, roll the dough into 1-inch balls.
- Place about 1/2 cup of granulated sugar in a shallow bowl. Roll each dough ball generously in the sugar, ensuring an even coating. This gives the cookies their signature sparkle and crackly exterior.
- Arrange the sugar-coated dough balls on the prepared baking sheets, leaving about 2 inches between each cookie to allow for spreading. While the first batch bakes, keep the remaining dough chilled.
The Bake: Don't Overlook This Crucial Step
- Bake for 10-11 minutes, rotating and switching the pans halfway through for even baking.
- Do not overbake! The cookies should look slightly puffed and soft when you pull them out of the oven. Their edges will be lightly golden, and the centers will appear barely set. They will continue to firm up as they cool, developing that perfect chewy texture. Overbaking will result in a dry, crumbly cookie.
The Iconic Hershey's Kiss Moment
- As soon as the cookies come out of the oven, immediately press one unwrapped Hershey's Kiss firmly into the center of each warm cookie. The heat from the cookie will slightly melt the chocolate, allowing it to adhere perfectly and creating that soft, gooey center once cooled.
- Let the cookies cool on the baking sheets for at least 10 minutes before carefully transferring them to wire racks to cool completely. This resting period helps them set and prevents them from breaking.
- Repeat the process with the remaining dough, ensuring to chill any unbaked dough in between batches.
Expert Tips for Unforgettable Peanut Butter Blossoms
While the recipe is straightforward, a few key insights can elevate your peanut butter blossoms from good to absolutely legendary. These are the tricks of the trade for achieving *the best peanut butter blossoms* every time you bake for "cookie week" or any occasion.
*
Roll in Sugar: The Sparkle Factor: Don't skip rolling the dough balls in granulated sugar! This step isn't just for aesthetics; it contributes to the cookie's signature crackly surface and adds a lovely textural contrast to the soft interior.
*
Temperature Matters: Room Temp Ingredients: As mentioned, ensuring your butter and peanut butter are at room temperature makes a significant difference. It allows them to cream together smoothly with the sugars, resulting in a lighter, fluffier dough and a more even texture in the baked cookie.
*
Precision in Scooping: Use a small cookie scoop (1 tablespoon) to ensure all your cookies are roughly the same size. This guarantees even baking and a beautiful, uniform presentation on your cookie tray.
*
The Power of Chilling Dough: Chilling the dough for at least an hour is not optional. It solidifies the fats, preventing the cookies from spreading too much in the oven and helping them maintain their shape and thickness, contributing to that desired chewy texture.
*
The Golden Rule: Don't Overbake! This is perhaps the most crucial tip. Peanut Butter Blossoms are meant to be soft and chewy. Pull them from the oven when they look slightly underdone – puffy and lightly golden around the edges, but still soft in the center. They will continue to bake slightly on the hot baking sheet and firm up as they cool.
*
The Immediate Kiss: Pressing the Hershey's Kiss into the cookie *immediately* after it comes out of the oven is key. The residual heat causes the chocolate to melt just enough to stick securely and create that delightful, slightly gooey center. If you wait too long, the cookies will firm up, and the chocolate won't adhere properly.
Making Ahead and Storing Your Cookie Treasures
One of the great advantages of this recipe for *the best peanut butter blossoms* is its freezer-friendly nature, making it perfect for holiday prep or batch baking. For more insights on making these a part of your festive traditions, check out
Nostalgic Peanut Butter Blossoms: Your Essential Holiday Treat.
*
Freezing Dough Balls: Prepare the dough as directed, roll it into sugar-coated balls, and place them on a baking sheet lined with parchment paper. Freeze until solid, then transfer the frozen dough balls to an airtight freezer-safe bag or container. They can be stored for up to 3 months. When ready to bake, place them on baking sheets (no need to thaw) and add 2-3 minutes to the baking time.
*
Freezing Baked Cookies: Allow baked and cooled peanut butter blossoms (with the kisses set) to freeze on a baking sheet until solid. Once frozen, transfer them to an airtight freezer-safe container, placing parchment paper between layers to prevent the kisses from sticking. They will keep well for 1-2 months. Thaw at room temperature.
*
Storing Baked Cookies: Store freshly baked peanut butter blossoms in an airtight container at room temperature for 4-5 days. If stacking them, always place a sheet of parchment paper or wax paper between layers to protect the chocolate kisses from smudging or sticking together.
When "its cookie week," these easy peanut butter blossoms are guaranteed to be a hit. With their classic flavor and simple preparation, they are a testament to the joy of homemade cookies. So, preheat your oven, gather your ingredients, and prepare to fill your home with the irresistible aroma of these beloved treats. Happy baking!